Wednesday, 15 February 2017

Kitchen obliteration

Work on the kitchen has started. I am writing this absolutely covered in dust and in need of a cuppa!

When I moved in the kitchen resembled a somewhat battered early 90's fitted kitchen. From the outside, although not to my taste, it didn't look so bad. However on closer inspection there was a lot of damp and mould, The fixtures and fittings where blown or rusty, and at least one of the power sockets was live, as discovered by Dave plugging in the toaster! This we discovered was due to water running down the walls when it rained.

The two main rooms in a house that have the highest footfall and utility tend to be the bathroom & kitchen, so naturally these are my priorities. With the bathroom done, it is now time to address the kitchen. I packed up everything that was in the kitchen stored loads of it away, warning the kids that this was going to be chaos for quite some time. Then made a little makeshift kitchen in what had been the dining room. Ikea trolleys and butchers blocks come in to their own at times like this! We defrosted the freezer too before moving it over, that was a joy, I am stingy at the best of times, but finding things with a use by year of 2008 suprised even me. Dave was pleased that I threw loads out, my friend Mark who was also over, vowed never to eat in my house again...he will!

We decided the first job would be to take what was left of the ceiling down, then simply demolish the rest, floor, cupboards and strip the walls right back to stone. So, that's where we started. My builder (and old school) friend Dean, came over with tools and a decent wheelbarrow. He and Dave covered the doorways with clothes pegged tarpaulin, donned masks and then went through the kitchen ripping down anything they could, including the old lath and plaster ceiling. I drilled up the rest of the floor tiles, and between numerous tea breaks we chipped the plaster off the walls. The pipework and electrics are now accessible also, so we can tidy these up and drop wires down to wherever we want sockets. It was a long day, starting at 8.45 am until around 7.30 pm. By the end of the day the room was a shell and we were all knackered. This is a major renovation project so I'm expecting it to take some time, but praying not as long as the bathroom took.

There is a thin veil of dust over everything in the house. I like to think it makes all my vintage finds look ethereal. I also have a monumental rubble pile outside now, so suppose when the weather is a bit better I'll need to order a couple of skips.

Destroying stuff is fun, living with it afterwards sucks!

Pulling cabinets, tiles and ceilings down
Rubble!


Dave and his trusty wheelbarrow
Dave and Dean destroying walls
Dean on his work box!


Exposed pipes and electrics.


The shell of the kitchen


Sunday, 22 January 2017

Mortar raking - a special kind of hell

Renovating an old property comes with many twists and turns. Ours is dated around 1850, so it has it's fair share of quirks that we've come across. The damp was the main problem when the kids and I moved in, getting a new roof sorted this out, however it has left its scars on the house, therefore drying it out and fixing the damage is taking time.

I want to do the house up sympathetically, not hiding the beautiful features it has. I suspect over the years some have been covered or taken out, or 'updated and modernised' a term I shudder at when used in relation to these old properties. This also often does more harm than good. The old stone houses need to breathe, rendering the outside and plastering the inside, means the stone cannot do this and invites all sorts of damp problems. Many of these are what I inherited! After the little push we did on the Room of Doom (see previous blog post), I concentrated on finishing the bathroom and having Christmas and so on. Now that's all done, it's time to go back to some of these unfinished tasks, one of them being more work on the exposed stone wall in the Room of Doom.

The walls have dried out beautifully now in here, which is a pleasure as it was the wettest room. So now is a good time to do more work on the repointing of the stones. The first task is to rake out the old lime mortar. The mortar is soft so it is a little easier, but all the same this is possibly one of the worst jobs I've had to do.  I think a lot of it is the original stuff, although there does seem to be some small patches of concrete which is harder to shift. Dave initially started doing some of the raking by hand, but it was taking an age. One of my builder mates suggested using a mortar rake, and said they had one we could borrow, they even gave us a lesson in how to use it! It's a Makita electric angle grinder tool with a mortar rake attachment. It's also bloody awesome, in two hours I managed to rake the worst bits off half of the wall!

The down side is that the dust this creates is unholy, I had a dust mask on, but next time I will wear goggles and a head scarf. This stuff gets in your eyes, it scratches and hurts, the other delight was that my hair became a matted thatch, seemingly resisting shampoo until the third wash, even then stones were still dropping out. My hands are rough and desiccated, feeling tightly stretched over my aching finger bones. My face lost any moisture it had, making me resemble a anaemic raisin. The dust and stones ping everywhere, I even had rubble in my bra (cue over shoulder boulder holder jokes)! Also my thumb hurt where I had to continually keep it on the grinder button to control it.

There is another half of the wall to do, but I will need to psyche myself up to do this. There will then be a lot of tidying up the stones, and a hole in the chimney to mend, before the repointing can be done. I know it will be worth it once it's finished. It will add that air of authenticity to the house and showcase the lovely calm, rich colours of the ancient forest stone. I also know this is gonna be an utter hellish, bastard of a job for the next few months!
The wall when it was first exposed

Safety first - something I'm learning fast

Wall before mortar was raked out
Wall after mortar was raked out

Thursday, 19 January 2017

Stairway to heaven....

The stairs up to the bedrooms left something to be desired! They were broken, had a big 70's style double banister handrail (the type your Nan would have in a 60/70's new build) scribble and a grubby red carpet. I actually had no intention of doing anything with them for quite some time. That is, until my friend lent me a decent belt sander to finish the bathroom floor with....mmmm this tool is good!

I wasn't sure what to do about the stairs in all honesty, I am also playing it fairly safe with the decor for now. Having three grubby little boys and their many friends in and out, means I need to have things that are robust and can stand heavy usage (they've already pulled the curtains down twice and broken a lampshade...ahhh the joys of motherhood). Paint that is hard wearing, easy to source & touch up, together with things that are simple to maintain and fix is definitely high on the agenda.

So we ripped the vile carpet up, hoping the wood underneath would be passable - it was... Yaaay!
Sanding was hard work as it had paint and varnish glued on from years of heavy footfall.

i MUST JUST TELL YOU THAT oSIRIS is rolling all over the keyboard as I'm typing this, HAPPILY PURRRING AWAY! XXXxx

....however, suitably attired in my dust mask and headscarf the sanding commenced. With a lot of elbow grease and a sanding sheet per stair, the stairs came up a treat. I precision sanded the corners, then used a light oak hard wearing wood varnish on the tops, and a grey hard wearing paint for the risers, paying homage to the grey wall downstairs (I now know what the down bit is called thanks to Cathryn googling this for me)!

The banister still looked vile though and no amount of sanding would change that. I popped to the local builders merchant to get some paint and screws and noticed they had a load of different stair spindles that I could just cut to length. I only wanted plain square ones so I bought four lengths. I have a dreadful habit of doing things by eye, being visual and artistic means I'm often not far out, but sometimes I get it wrong! I explained to Dad and Dave my idea of keeping one handrail and cutting the spindles to length and screwing them on. They both said this would be a nightmare. However, true to form and in their usual engineering style, they discussed how to do it and Dave cracked on. In a few hours I had spindles (there was plenty of wood) - looking wonderful too! Mum then said there was some kind of legal spacing requirement, whereby it had to be safe should a child get their head stuck in them. I said, in that instance we would just get a saw (not for the child's head) or call the fire brigade!!!

So, I painted the spindles and banister white and wrapped a sweet flower garland around it. The upstairs hallway is called the hallway of judgement. I am not a religious person at all, however I do love a good icon. They make me smile and are actually quite beautiful (ok some are just kitsch, but hey). I wanted a wall where they were all together and up the proverbial 'stairway to heaven' seemed the most appropriate place.

The stairs look really great, fitting in with both the downstairs room and upstairs hallway they are in, and more importantly they will last a damn sight longer now! How's that for a days work!

This post is dedicated to my parents lovely friend Mike, whom they've just lost. Mike gave me some of the religious pictures from French brocante finds. xx


You can listen to Led Zeppelin playing Stairway to Heaven whilst you look at these pictures if you like...https://www.youtube.com/watch?v=9Q7Vr3yQYWQ


The hallway of judgement 

old red carpet and crumbling walls

Your Nan's banister & grubby red carpet

wood under the carpet - treasure

New spindles, one painted banister and tarted up stairs

Finished with flower garland


THE BATHROOM IS FINALLY FINISHED!!!!

After the best part of 18 months the bathroom is finally bloody finished!

If you read the last post, you will know life hasn't been so easy for the last part of 2016. I lost one of my best friends. I work in a hospice and my friends last days were there, making the work/home life balance impossible. Subsequently my wonderful doctor signed me off for a month, to help me get my equilibrium back on track. He was very understanding as his wife used to work in palliative care. I've spent the last month, doing some soul searching, getting to grips with some nasty grief, nurturing good memories and good friendships.... annnndddd the inevitable DIY. Which, it transpires, is perfect for mindless grief distraction, I highly recommend it!

I've learnt a lot along the way too, my tiling is much better, my plastering has improved, my painting is more accurate, and Ive learnt a few more carpentry skills. I'm also queen of the decorators caulk (like a good pair of spanx, it hides a multitude of sins), AND I got to play with some great power tools! Dave did too, and only got the planer caught up in a towel once (resulting in a ripped new towel & taken apart planer, I'm sure he hates my very ungoth white towels...hahaha). All in all I estimate it cost just over £1500. I'm a frugal shopper and got given quite a bit of the actual bathroom fixtures & fittings, which when you consider, this was two hideous rooms, that we gutted, refloored and joined together really isn't too bad at all. It's been a mammoth task when I think back!

So Ive taken some 360 degree shots for you to have a look at. I LOVE the bathroom, I've changed some of the design as we went on, and it's not always been cut and dried. Clive had to completely redo the soil pipe as there wasn't enough drop (eww), and we uncovered some glorious botched repairs, but it's done, completed, finito, concluded, finalised, however you want to say it, its tarted up in all it's tranquil, white gloriousness. We can finally be clean without feeling sawdusty, plasterdusty, or paint flecked. My cares have been washed away...finally and some of my hoarded objets d'art have a home.

......Now it's on to the kitchen!!! AAAAARGHHHH

Sink and loo before

Bath before - look at those tiles!!

Shower and loo now - moved into the area where the old sink and bath were

New bath on new floorboards

lovely wide window space and my boxing in of pipes!

Safe and legal posh bathroom light - cut glass from Scandinavia

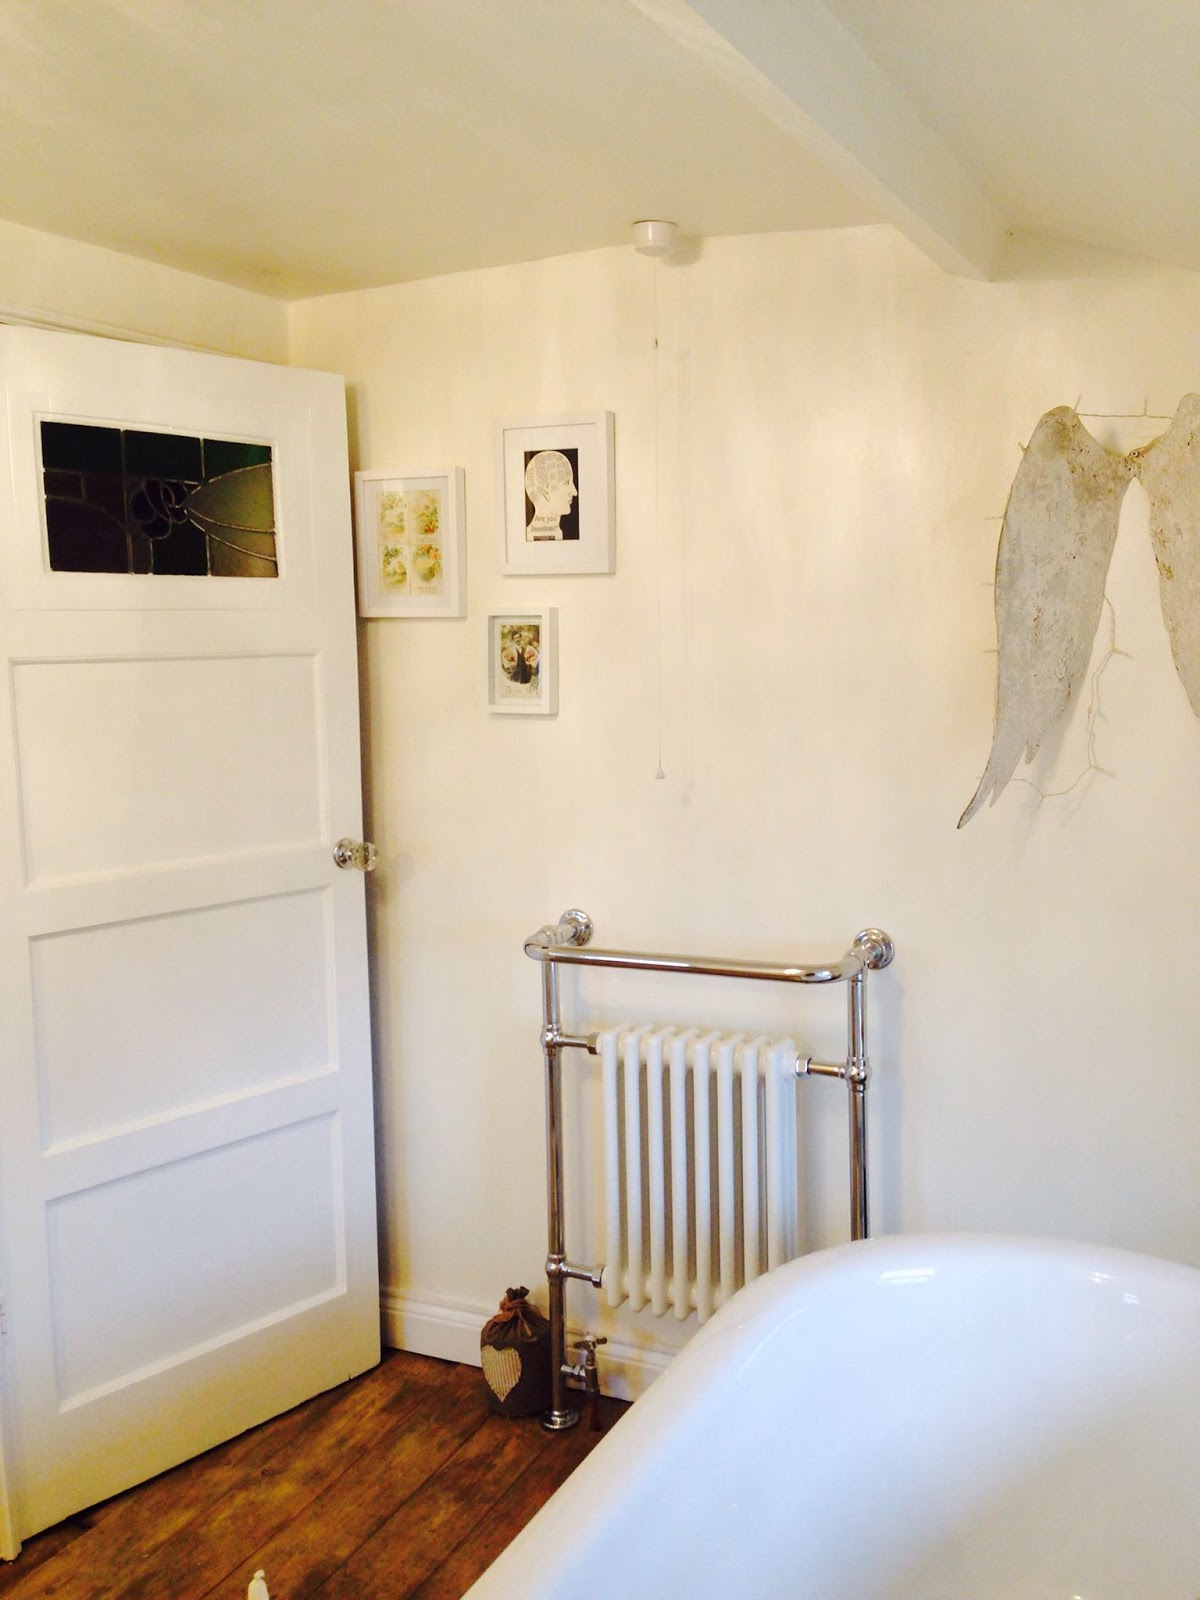
New radiator 

DIY cupboards, loads of storage and hiding all the lotions and potions
Door painted and old pub window put in. This was smashed glass before. we've also added a cut glass doorknob

My remedies and cures sign outside the door. Love it!


Sunday, 18 December 2016

The sky is falling in....

Well ok, not the sky, but the kitchen ceiling....

On the day I said a final goodbye to my friend at the hospice, Friday November the 18th, I drove home to find my kitchen ceiling had collapsed.

Now this isnt actually as melodramatic as it sounds. Dave had called me on the way home, something he NEVER does, so I knew something wasn't quite right. Dave was in the kitchen and he said he heard what he described as ripping paper, then a creak and a big chunk of plasterboard swung down narrowly missing his head!

There were huge chunks of ceiling resting on my newly made pickled onions in their Kilner jars and the Kenwood blender. At this point I would just like to advocate the quality of the afore mentioned items as they all survived...as did Dave!

So, I walked in to the left over parts of the ceiling propped up by a broom and the cooker covered with a towel (one of my new cream towels...horrors...) so it didn't get wrecked either. All I could do was laugh very hard. I may have been a tad hysterical at this point, as it was the end of what was to be one of the saddest weeks of my life to date. Dave was covered in dust, there was bits of rubble everywhere and the light was swinging precariously. The ceiling had consisted of layers of plaster and plasterboard, and under that was another one, equally knackered but with patches of black mould...you know, that really bad mould. I couldn't help but wonder if my dear departed friend was sending one final message to get on with this renovation. He loved what we were doing with the house and enjoyed my daft tales about what we had found or done next. He would have belly laughed at this timely calamity!

Dave and I decided to leave the ceiling as it was for the night. the children were safely tucked up at their Dad's and the cats kept out of the way, so no more harm could be done. We talked about the day, warmed the house up (as far as we can at the moment -  refer to previous post) and drank wine until we giggled, which was a welcome relief.

My darling friend died later that evening. The following day Dave found a crowbar and ripped the rest of ceiling one down. Ceiling two is bulging badly but still up for the moment. It's only a matter of time though. I suspect 2017 will be the year we have to build a kitchen!

Collapsed ceiling & black mould!
The ceiling on the floor - note the cream towel!!! 

Triggers broom giving the ceiling some support


Warming yer cockles

According to Wikipedia:

Etymology

17th century, Unknown, possibly due to resemblance of cockles to hearts. Alternatively, may be corruption of Latin cochleae in cochleae cordis ‎(ventricles of heart),[1] or of Irish Gaelic origin. Possibly also inspired by mollusks opening when exposed to warmth, notably cooking.

Verb

to warm the cockles of someone's heart
  1. (idiomatic) To provide happiness, to bring a deeply-felt contentment 


According to me:
21st century, Finding a way around freezing your arse off in an old Forest stone cottage.

There is nothing to motivate you more to get the stone fireplaces working than being cold to your bones. It makes me cross and crotchety. My knees are like that of a 60 year olds, so when they get cold, warming them up takes ages, makes me stink of deep heat and hurts! 

We have three fireplaces, one in the dining room which has a botched burner that needs repairs, but works well, one in the room of doom, which I wasn't going to initially use, but turns out this is easier to fix up than I first thought, the last one in the sitting room, this was lovely, but partially bricked up and the chimney was battered (you may remember this one was the chimney that had no pointing left between the bricks, so the rafters were getting scorched...bloody hell)!! I felt getting these last two up and running would be a hideous job, but the house is cold and my heating bills have the potential to be massive as two of the rooms are over a drafty cellar, so I looked into it.

I picked up a Rosieres enamel burner in France for 50 Euros and Dave picked up an old Broomside Foundry 1922 burner for £80 locally. We didn't really know what we'd do with them, but they looked handy. As always we chatted to Clive about this, he quoted us, we deliberated and decided bugger it, lets save up and get it done. One of the best things about living in the Forest (amongst the billion other great things) is that for £30 a year you can forage as much wood as you like. we don't need to do this just yet as we have loads left from clearing stuff up, but in the future that will be a life saver for skint times! 

Last week Clive came over and put the liners down the two chimneys (room of doom & sitting room). Dave drilled the bricks out of the fireplace (knackering himself in the process). We just need to tidy up the fireplaces, get the burners in situ then Clive will hook them up (I hope that's a simple as it sounds - I'll let you know). We also have a hole that needs bricking up in the wall of the room of doom....it's on the list! 

I keep getting told this winter will get a lot worse, so fingers crossed we'll get this completed before then and all be toasty and warm. I also love a bit of controlled arson and lets face it, who can resist the primitive beauty of a proper fire keeping you cosy on a cold,dark winter evening? 

Partially bricked up fireplace in sitting room

Bricks drilled out in sitting room
Broomside burner, ready to be put into sitting room

Rosieres burner in room of doom - not installed yet. Note the top hole in the wall that needs bricking up.


Burner in the dining room...toasty!

The Loovre - Arting up the bathroom and last chores

Bathroom progress is still slow, but not so steady. Due to a number of things, one being the death of a very dear friend, this has rocked those of us close to him to the very core and broken our hearts. When something like that happens, everything else takes a back seat. The minutiae of daily life becomes unimportant, and as I'm finding, is remaining so for the moment. Merely having a bath or shower became a task, let alone finishing the renovation.

My friend was a do-er, partly why we got on so well, we both preferred to get on with something (after a little procrastination on my part) rather than sit around being apathetic. He'd often be busy rushing about completing tasks, stopping for a cuppa and chinwag, then saying 'right...gotta keep moving' off to his next set of chores...such is the life of a single parent, which again, we both understood so well.

So....the goal was to complete the bathroom, initially by last Easter, however as always seems to happen, we missed that by miles. In old houses, you often uncover botches that have been kept secret for decades, or that something you thought would work, so was finished, doesn't, so it isn't! Our new goal is Christmas, but with only a week to go and feeling pretty bloody fragile, this may be missed also!

As a result we've only done smaller tasks in the bathroom. Builder and friend Clive redirected the soil pipe as that was proving to be problematic. Dad has built the shells for the cupboards, put the lights and radiator in, I have framed some pictures and Dave has put them up.

I am a clutter freak, if there is a bare surface or wall I WILL put something on it. I just cant do minimalist. I want the bathroom to be a calm place, where you can wash away your cares and shut the world out for a while, but I also need things to stimulate the senses. Interesting things to look at. Ive collected bits and pieces for years, knowing one day they'd all have a place. So here is a snapshot of some of those pictures and curios (believe me there are many other bits and bobs such as a gold monkey holding a tray, a vintage vets horses piss collection jar and black opium soap).

  • PORTRAIT OF ADELE BLOCH-BAUER I, 1907 BY GUSTAV KLIMT
 -  beautiful print from a friend who played in an orchestra in Vienna

Technically this isn't in the bathroom, it's just outside the door, but I love this!

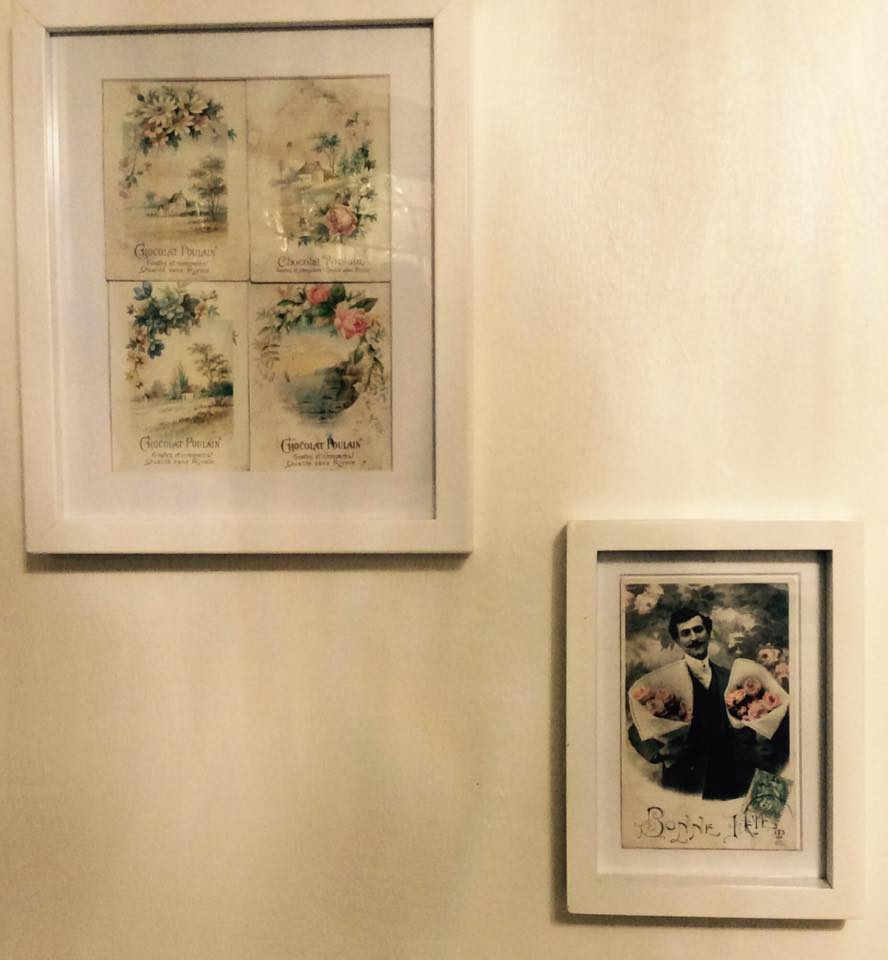
Vintage French chocolate cards and 1920's postcard

Artisan metal angel wings (god I sound pretentious, but they are massive and sexy)

Found these two in craft markets, and the letter stamps I've had for years from Baileys in Ross-on-Wye

The light, this was the most expensive thing I've ever bought. Cut glass from Scandinavia, but it's safe and pretty - check out the fairies it leaves on the ceiling!

Vintage tins and shit!

There really isn't much left to do now:

  • Patch plastering and painting
  • Skirting boards on
  • Boxing in pipes  
  • Architrave around door
  • Fixing down window shelves
  • Tiling behind the sink
  • Sand floor
  • Make cupboard doors
  • Mount shaver point.
  • Final snagging

There you have it. In an ideal world I will blog next week about the finished bathroom, but I very much doubt it. Grief makes you extremely tired and I think I've hit the wall! xx